
Pioneer PL-7 Turntable Manual: A Comprehensive Guide
Discover a wealth of resources, including schematics, service manuals, and repair information for the Pioneer PL-7 turntable, aiding both enthusiasts and technicians.
The Pioneer PL-7, a classic direct-drive turntable, holds a significant place in audio history, celebrated for its robust build quality and exceptional performance. Released during a golden age of vinyl, it quickly became a favorite among audiophiles and professional DJs alike. This comprehensive guide aims to provide both novice users and seasoned enthusiasts with detailed insights into the PL-7’s operation, maintenance, and advanced features.
Understanding the PL-7 requires delving into its components and functionalities. Numerous online resources, like Schematics Unlimited and Circuit-Encyclopedia, offer downloadable service manuals and schematics, crucial for repairs and deeper understanding. These resources provide access to detailed diagrams and repair information, empowering users to maintain and restore this iconic turntable. Whether you’re seeking to revive a vintage unit or optimize its performance, this manual will serve as your essential companion.
Historical Context and Significance
Emerging in the mid-1970s, the Pioneer PL-7 arrived during a pivotal moment in audio technology – the transition from belt-drive to direct-drive turntables. Pioneer’s innovation addressed the limitations of belt-drive systems, offering superior speed accuracy and reduced maintenance. This timing coincided with the rise of disco and DJ culture, where reliable and precise playback was paramount.
The PL-7 quickly gained recognition for its professional-grade features and durability, becoming a staple in radio stations and clubs. Resources like HGURKEM and various online forums highlight the enduring demand for PL-7 service manuals and schematics, demonstrating its continued relevance. Its significance lies not only in its technical advancements but also in its contribution to the evolution of music playback and DJing, solidifying its place as a legendary turntable.
Key Features and Specifications
The Pioneer PL-7 boasts a direct-drive motor, eliminating belts and ensuring consistent speed. It features precise pitch control, crucial for professional applications and beatmatching. Schematics Unlimited confirms availability of service manuals detailing its intricate circuitry. The turntable supports various cartridge types, enhancing versatility.
Specifications include a signal-to-noise ratio of 78dB, minimizing unwanted noise. Wow and flutter are rated at 0.03% WRMS, ensuring accurate playback. Power consumption is approximately 20W. Downloadable service manuals, as found on circuit-encyclopedia.com, provide detailed electrical schematics. Its robust build quality and professional features made it a preferred choice for discerning audiophiles and DJs alike, cementing its legacy.

Understanding the PL-7 Components
Explore the PL-7’s core elements: the tonearm, motor, and platter, all detailed in available service manuals for comprehensive understanding and repair.
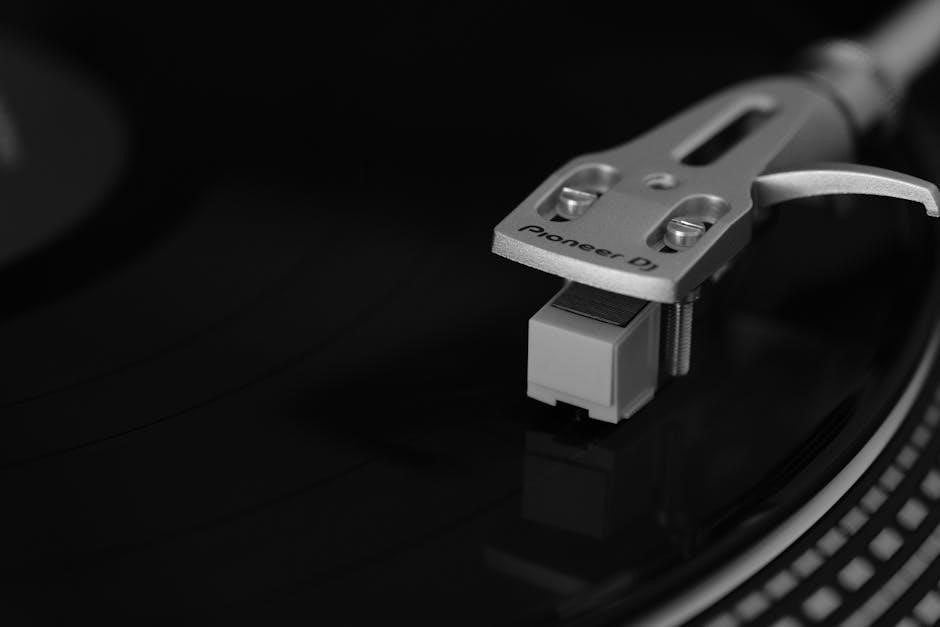
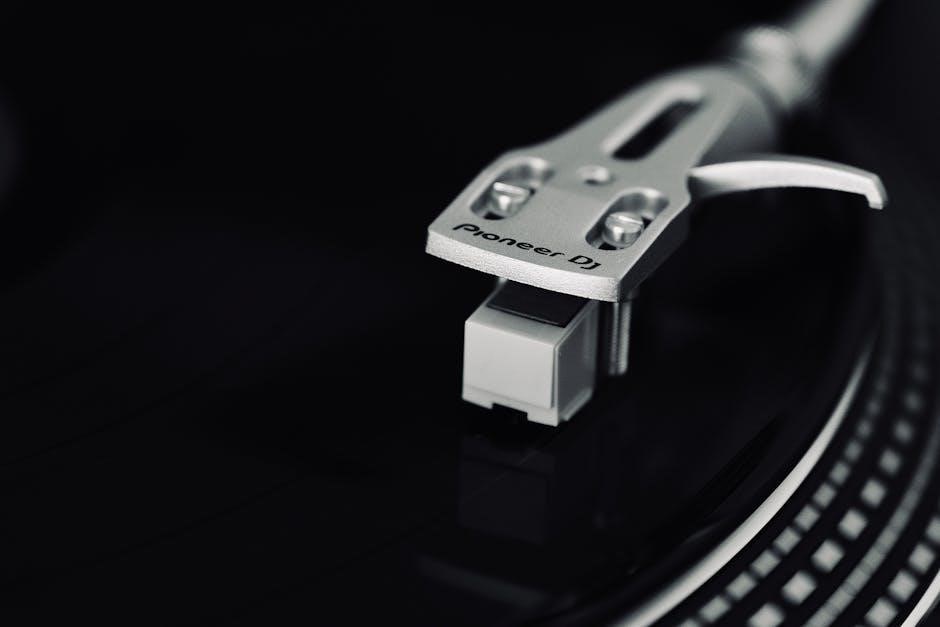
Tonearm and Cartridge Details
The Pioneer PL-7’s tonearm is a critical component, influencing tracking accuracy and overall sound quality. Service manuals and schematics detail its construction and adjustments. Understanding the tonearm’s bearings, length, and pivot points is essential for optimal performance. Cartridge compatibility and mounting procedures are also thoroughly documented in available resources.
Detailed diagrams illustrate proper cartridge alignment techniques, including overhang and offset angle adjustments. These adjustments minimize distortion and maximize signal retrieval. Information regarding recommended cartridges for the PL-7, along with their specifications, can be found within these manuals. Technicians can utilize these resources to diagnose and repair tonearm issues, ensuring precise tracking and a superior listening experience. Proper maintenance, as outlined in service guides, extends the lifespan of both the tonearm and cartridge.
Motor and Drive System Explained
The Pioneer PL-7 utilizes a sophisticated motor and drive system, crucial for maintaining stable platter rotation and accurate speed. Service manuals provide detailed schematics of the motor’s wiring and components, aiding in troubleshooting and repair. Understanding the drive mechanism – often belt-driven – is key to proper maintenance;
Diagrams illustrate the motor’s assembly and the belt’s path, highlighting potential wear points. Resources detail speed adjustment procedures and calibration techniques, ensuring accurate playback. Technicians can use these guides to diagnose issues like motor noise or speed instability. Information on motor lubrication and belt replacement is also readily available, extending the system’s lifespan. Proper motor function is paramount for minimizing wow and flutter, delivering a pristine audio experience.
Platter and Mat Information
The PL-7’s platter is a critical component, designed for mass and balance to ensure stable rotation. Service manuals often include detailed specifications regarding platter weight and material composition. The platter mat, typically rubber or felt, plays a vital role in damping vibrations and providing optimal contact with the vinyl record.
Diagrams showcase the platter’s construction and mounting mechanism. Resources detail proper cleaning procedures for both the platter and mat, preventing dust accumulation and maintaining optimal performance. Understanding the interplay between platter mass and mat material is crucial for minimizing resonance. Technicians can refer to schematics to diagnose issues like platter wobble or uneven rotation, ensuring a smooth and accurate playback experience.

Operation and Basic Setup
Proper setup involves powering on, cueing the record, and adjusting playback speed for optimal sound quality, as detailed in service guides.
Powering On and Initial Setup
Before initial operation, carefully inspect the PL-7 for any shipping damage. Connect the turntable to a grounded power outlet, ensuring the voltage matches the unit’s specifications. Gently place the platter mat onto the platter, centering it correctly.
Next, connect the RCA cables to your amplifier or receiver, paying attention to left and right channels. Ground the turntable by connecting the ground wire to the grounding terminal on your amplifier.

When powering on, verify the motor starts smoothly. If not, consult the service manual for troubleshooting. Initial setup also includes installing a compatible cartridge and aligning it correctly – a crucial step for optimal performance. Refer to dedicated cartridge alignment guides for precise instructions. Always handle the tonearm with care during this process;
Cueing and Playback Procedures
To begin playback, gently lift the tonearm using the cueing lever, positioning the stylus just above the record’s lead-in groove. Slowly lower the tonearm with the cueing lever to initiate playback; Avoid abrupt drops, as this can damage both the record and the stylus.
During playback, monitor the sound for any distortion or irregularities. Utilize the anti-skate and tracking force adjustments (detailed elsewhere in this manual) to optimize sound quality.
To stop playback, raise the tonearm using the cueing lever and return it to its rest. Never manually drag the stylus across the record surface, as this will cause wear and potential damage. Proper cueing and playback techniques are essential for preserving your vinyl collection.
Speed Adjustment and Calibration
Ensuring accurate speed is crucial for faithful audio reproduction. The Pioneer PL-7 allows for fine-tuning of both 33⅓ and 45 RPM speeds. Utilize a strobe disc and the turntable’s internal illumination to visually verify speed accuracy.
Adjust the pitch control, typically located near the speed selector, to correct any deviations observed on the strobe disc. Small adjustments are key; overcorrection can introduce further inaccuracies.
Regular calibration is recommended, especially after cartridge changes or if the turntable is moved. Precise speed calibration minimizes pitch fluctuations and ensures optimal listening enjoyment. Refer to the service manual for detailed calibration procedures.
Maintenance and Troubleshooting
Keep your PL-7 performing optimally with regular cleaning, lubrication, and by addressing common issues using available service manuals and online resources.
Cleaning and Lubrication Guide
Maintaining your Pioneer PL-7’s pristine condition requires a consistent cleaning and lubrication schedule. Begin by disconnecting the power. Gently dust the plinth and platter with a soft, lint-free cloth. For the platter mat, a damp cloth with mild detergent works well, ensuring it’s completely dry before replacement. Crucially, the tonearm bearings and motor spindle benefit from periodic lubrication.

Use a high-quality, light machine oil specifically designed for precision instruments – avoid heavier oils. Apply sparingly to the designated lubrication points, as indicated in the service manual (available online via schematics resources). Regularly cleaning the stylus with a stylus brush is paramount for optimal sound quality and record preservation. Inspect the belt for wear and tear; replacement is recommended if cracks or stretching are observed. Remember to consult downloadable schematics for detailed component locations and lubrication procedures.
Common Issues and Solutions
Several issues can arise with the Pioneer PL-7, but many are easily addressed. A common problem is speed instability; check the drive belt for wear and ensure proper motor lubrication. Humming or buzzing often indicates grounding issues – verify all connections are secure. If the tonearm doesn’t move freely, carefully clean and lubricate the tonearm bearings.
For more complex problems, downloadable service manuals and schematics (found on sites like Schematics Unlimited and circuit-encyclopedia.com) are invaluable. These resources provide detailed troubleshooting steps and component diagrams. If the unit fails to power on, inspect the power cord and fuse. Remember, attempting repairs without proper knowledge can cause further damage; consider seeking professional assistance if unsure. Online forums offer community support and shared experiences.
Belt Replacement Procedures
Replacing the drive belt on your Pioneer PL-7 is a manageable task for most users. Begin by disconnecting the turntable from power. Carefully remove the platter, often secured with a retaining clip or screw. Access the motor pulley and locate the old belt – it may be brittle or stretched. Gently remove the old belt, taking note of its routing around the motor pulley and platter sub-spindle.
Install the new belt, ensuring it’s properly seated in the grooves. Reassemble the platter and secure it. Power on the turntable and verify correct speed and operation. Resources like service manuals (available online) provide visual diagrams to aid this process. WinRAR may be needed to unzip downloaded manuals, and Adobe Reader 9 to view them.
Advanced Features and Adjustments
Fine-tune your PL-7 with adjustments for tracking force, anti-skate, and vertical tracking angle (VTA) to optimize performance and sound quality.
Tracking Force and Anti-Skate Adjustment
Precisely setting the tracking force is crucial for optimal performance and preventing record wear on your Pioneer PL-7. Utilize a tracking force gauge to accurately dial in the recommended weight for your specific cartridge – typically found in the cartridge manufacturer’s specifications. Incorrect tracking force can lead to distorted sound or damage to both your vinyl and stylus.
Simultaneously, anti-skate compensation is essential to counteract the inward pull experienced by the tonearm during playback. The PL-7 features an adjustable anti-skate control, often calibrated with numerical settings. Begin by matching the anti-skate setting to the tracking force value. Fine-tune this adjustment by ear, listening for balanced stereo separation and minimal distortion. Improper anti-skate can cause channel imbalance or mistracking.
Remember to re-evaluate these settings whenever you change cartridges or notice any performance inconsistencies. Careful adjustment of tracking force and anti-skate will unlock the full potential of your PL-7 and preserve your valuable record collection.
Vertical Tracking Angle (VTA) Setup
Optimizing Vertical Tracking Angle (VTA) on your Pioneer PL-7 ensures the stylus sits correctly within the record groove, maximizing sound quality and minimizing distortion. VTA refers to the angle of the tonearm relative to the record surface. Ideally, the tonearm should be parallel to the record surface when playing.
The PL-7 allows for VTA adjustment, typically achieved by raising or lowering the base of the tonearm. Visually assess the alignment – a protractor can aid in precision. Listen critically for changes in sound; a too-low VTA can sound dull, while a too-high VTA can sound harsh or sibilant.
Fine-tuning VTA is subjective and dependent on your cartridge and personal preference. Small adjustments can yield significant improvements. Experiment to find the setting that delivers the most balanced and detailed sound reproduction from your PL-7.
Cartridge Alignment Techniques
Precise cartridge alignment is crucial for optimal performance with your Pioneer PL-7. Proper alignment minimizes distortion and ensures accurate tracking of the record groove, extending both stylus and record life. Several techniques exist, utilizing specialized protractors.
Common methods include Baerwald, Stevenson, and Löfgren. These protractors guide you to position the cartridge correctly, ensuring the stylus traces a tangent arc across the record. Careful attention to overhang and offset angle is essential.
Alignment involves loosening the cartridge mounting screws, positioning the stylus on the protractor’s null points, and tightening the screws while maintaining alignment. Iterative adjustments may be needed for perfect results. Accurate alignment unlocks the full potential of your PL-7 and cartridge.

Resources and Further Information
Explore schematics, service manuals, and vibrant online communities dedicated to the Pioneer PL-7, offering support and valuable insights for enthusiasts.
Schematics and Service Manual Availability
Locating detailed schematics and service manuals for the Pioneer PL-7 turntable is crucial for repair and maintenance. Several online resources offer downloadable PDFs, including Schematics Unlimited and Circuit-Encyclopedia. These sites provide access to a vast library of Pioneer documentation, encompassing service manuals, schematics, and even circuit diagrams.
Users should be aware that some sites recommend specific software like WinRAR for unzipping files and Adobe Reader 9 for viewing the diagrams. It’s important to respect copyright and utilize downloaded materials solely for personal repair purposes, avoiding resale.
Furthermore, resources like HGURKEM offer assistance in locating manuals, even for less common models, and can provide pricing information if a manual isn’t readily available for free download. These resources empower owners to confidently tackle repairs and preserve their vintage Pioneer turntables.
Online Forums and Communities
Engaging with online forums and communities dedicated to vintage audio equipment, and specifically Pioneer turntables, provides invaluable support for PL-7 owners. These platforms serve as hubs for sharing knowledge, troubleshooting issues, and exchanging repair tips. Experienced users often contribute detailed advice and guidance, assisting with everything from belt replacement to cartridge alignment.
These communities foster a collaborative environment where owners can ask questions, share their experiences, and access a wealth of collective wisdom. Searching existing threads can often reveal solutions to common problems, saving time and effort.
Moreover, forums can be excellent sources for locating rare parts or finding qualified technicians specializing in Pioneer turntable repair, ensuring the longevity of your PL-7.
Recommended Accessories
To enhance the performance and preservation of your Pioneer PL-7, several accessories are highly recommended. A high-quality phono cartridge, suited to your listening preferences, can significantly improve sound reproduction. Replacement drive belts are essential for maintaining consistent speed and preventing motor strain, readily available online.
Additionally, a stylus cleaning brush and fluid are crucial for removing dust and debris, ensuring optimal tracking and minimizing record wear. A digital stylus force gauge provides accurate tracking force adjustment, vital for cartridge longevity and sound quality.
Consider investing in a bubble level for precise turntable leveling, minimizing distortion. Finally, a good quality record cleaning kit will keep your vinyl in pristine condition.