
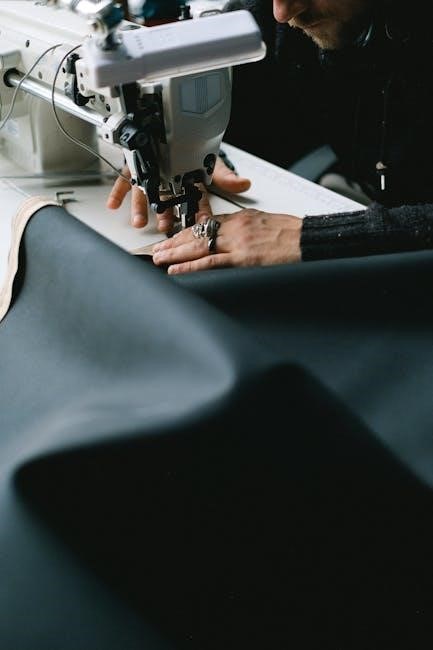
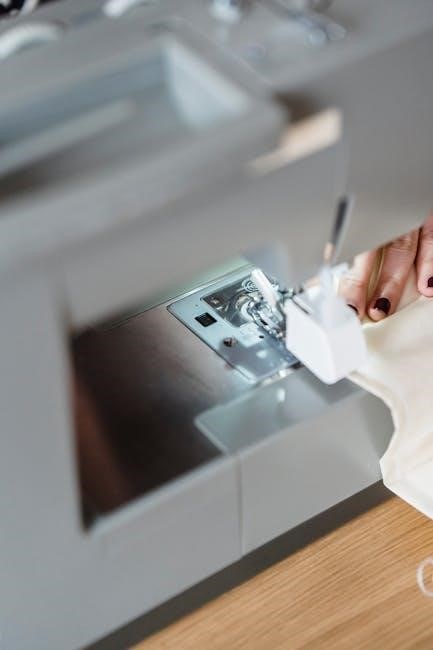
Seam guides are essential tools for both beginner and experienced sewers, ensuring consistent and accurate stitching for improved project outcomes.
Consumer Reports highlights the importance of selecting the right machine, and seam guides contribute significantly to achieving professional-quality results.
What is a Seam Guide?
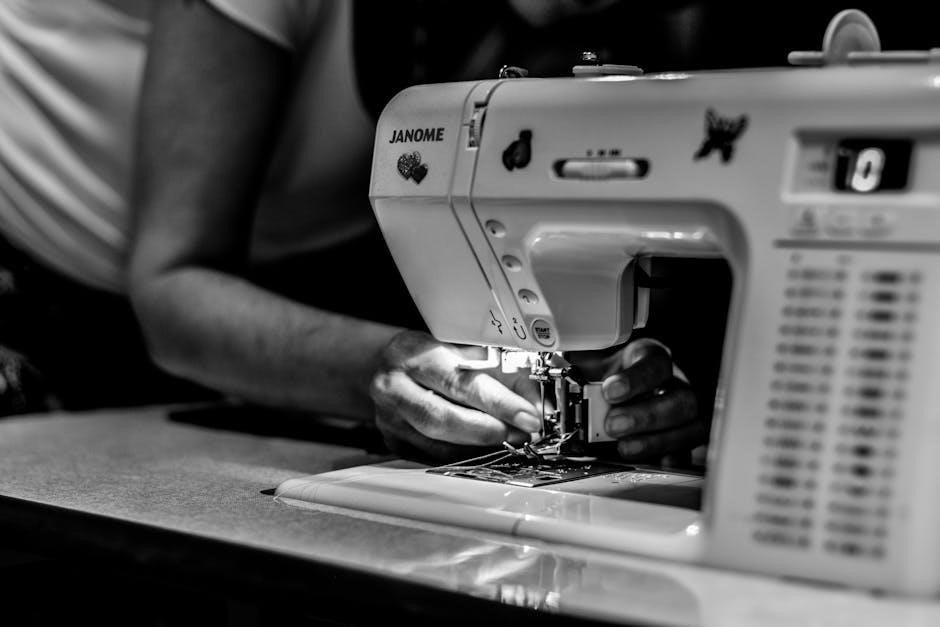
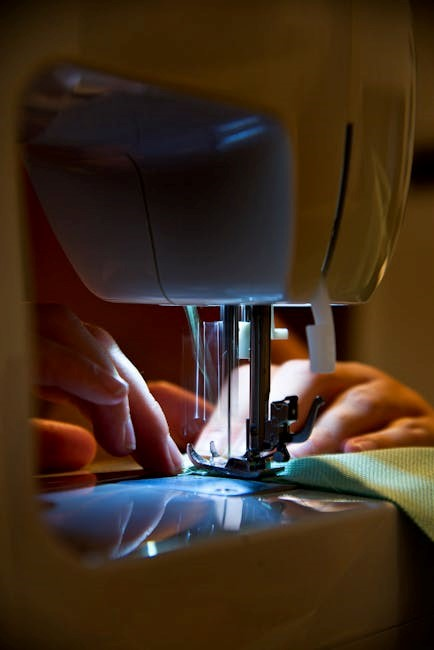
A seam guide is a tool used with a sewing machine to help maintain a consistent distance between the needle and the edge of the fabric. It acts as a visual or physical reference point, ensuring straight and even seams.
These guides come in various forms – magnetic, clip-on, built-in, or adjustable – and attach to the throat plate of your machine. They are particularly helpful for beginners learning to sew straight lines, but even experienced sewers benefit from the precision they offer.
As Consumer Reports suggests focusing on the right tools, a seam guide is a fundamental accessory for achieving professional-looking results and improving overall sewing accuracy.
Why Use a Seam Guide?
Using a seam guide dramatically improves sewing accuracy, leading to more professional-looking projects. It eliminates guesswork when maintaining consistent seam allowances, crucial for garment construction and quilting.
For beginners, a seam guide provides a visual aid for sewing straight lines, building confidence and skill. Even seasoned sewers appreciate the precision, especially when working with slippery or bias-cut fabrics.
As highlighted by Consumer Reports, having the right tools is key. A seam guide ensures consistent results, saving time and fabric by reducing errors and the need for re-sewing.
Types of Seam Guides
Seam guides come in various forms – magnetic, clip-on, built-in, and adjustable – each offering unique benefits to suit different sewing machines and preferences.
Magnetic Seam Guides
Magnetic seam guides are a popular choice due to their versatility and ease of use. These guides adhere directly to the metal throat plate of your sewing machine, providing a quick and adjustable reference point for consistent seam allowances.
They are particularly useful for machines without built-in guides or when you need to frequently change the seam width. The magnetic base allows for simple repositioning, making them ideal for various projects and fabric types.
However, compatibility is key; ensure your machine’s throat plate is metallic for a secure hold. Some users find they may occasionally shift during high-speed sewing, requiring minor adjustments.
Clip-On Seam Guides
Clip-on seam guides offer a universal solution for machines lacking magnetic throat plates or built-in guides. These guides typically attach to the edge of the presser foot, providing a visual reference for maintaining accurate seam allowances.
They are generally made of plastic and come in various sizes to accommodate different seam widths. While affordable and adaptable, clip-on guides may sometimes feel less secure than magnetic options, potentially shifting during operation.
Regularly check the guide’s position to ensure consistent stitching. They are a good starting point for beginners exploring seam guide options.
Built-In Seam Guides
Built-in seam guides are integrated directly into the sewing machine’s throat plate, offering a permanently fixed reference point for consistent stitching. These guides are often marked with common seam allowance measurements, like ¼ inch and ⅜ inch, streamlining the sewing process.
They provide a stable and reliable guide, minimizing the risk of slippage compared to clip-on versions. However, they offer less flexibility in terms of adjusting seam widths.
Consult your sewing machine manual to understand the specific markings and functionality of your machine’s built-in guides.
Adjustable Seam Guides
Adjustable seam guides offer the greatest versatility, allowing sewers to customize the seam allowance to precise measurements. These guides typically consist of a sliding bar or screw mechanism attached to the presser foot or throat plate.
They are ideal for projects requiring unconventional seam widths or when working with patterns that specify unique allowances. Accurate calibration is crucial for consistent results; regularly check and readjust the guide as needed.
Proper adjustment ensures your stitching remains parallel and accurate, enhancing the overall quality of your sewing projects.

Understanding Seam Allowance
Seam allowance, the fabric distance from the cut edge to the stitch line, is vital for garment construction and overall project durability.
Standard Seam Allowance Sizes
Standard seam allowances vary depending on the sewing project and fabric type, but common sizes include 1/4 inch, 3/8 inch, and 1/2 inch. A 5/8 inch seam allowance is frequently used in commercial patterns for garments, providing sufficient fabric for seam finishing and adjustments.
For quilting, a precise 1/4 inch seam allowance is crucial for accurate block construction. Utilizing a seam guide alongside these standard measurements ensures consistent stitching, especially when working with varying fabric weights or intricate designs. Accurate seam allowances contribute to a professional finish and proper garment fit.
Importance of Consistent Seam Allowance
Consistent seam allowances are paramount for achieving well-constructed sewing projects. Variations can lead to puckering, uneven hems, and ill-fitting garments. Maintaining uniformity ensures that pattern pieces align correctly, resulting in a polished and professional finish.
A seam guide plays a vital role in achieving this consistency, especially for beginners or when sewing long seams. Consumer Reports emphasizes the importance of the right tools for quality results, and a seam guide is undeniably one of them. Accurate seam allowances directly impact the overall aesthetic and durability of your creations.
How Seam Guides Help Maintain Seam Allowance
Seam guides function as a visual reference point, ensuring your fabric remains a consistent distance from the needle as you sew. This eliminates guesswork and minimizes errors, particularly crucial for those new to sewing or tackling complex projects. By providing a clear boundary, they promote accuracy and repeatability throughout your work.
As Consumer Reports suggests focusing on the right tools, a seam guide is invaluable. It allows sewers of all skill levels to achieve professional-looking results, contributing to better-fitting garments and more aesthetically pleasing crafts.
Installing and Adjusting Seam Guides
Seam guide installation varies by type; magnetic guides simply attach, while clip-ons secure to the throat plate. Proper adjustment is key for accuracy.
Attaching Magnetic Seam Guides
Magnetic seam guides offer a remarkably simple installation process, making them a popular choice for sewists of all levels. These guides utilize a strong magnet on their base, allowing them to adhere directly to the metal throat plate of your sewing machine.
Before attaching, ensure the throat plate is clean and free of debris for optimal adhesion. Simply position the guide at the desired seam allowance marking on the machine. The magnet will hold it securely in place during sewing.
It’s important to note that magnetic guides are only compatible with sewing machines featuring a metal throat plate; they won’t work on plastic or non-magnetic surfaces.
Securing Clip-On Seam Guides
Clip-on seam guides provide versatility, fitting a wide range of sewing machine models, regardless of throat plate material; These guides typically feature a clamping mechanism that secures them to the edge of the presser foot or the throat plate itself.
To install, align the guide with the desired seam allowance marking on your machine. Tighten the clamp screw firmly, ensuring the guide remains stable and doesn’t shift during operation.
Periodically check the screw’s tightness, as vibrations from sewing can sometimes loosen it. Proper securing is crucial for maintaining accurate seam allowances.
Adjusting Built-In Seam Guides
Built-in seam guides, found on many sewing machines, offer convenience as they are permanently attached. Adjustment usually involves loosening a screw or lever, allowing the guide to slide to the desired seam allowance marking on the needle plate.
Once positioned, securely tighten the adjustment mechanism. Refer to your sewing machine’s manual for specific instructions, as methods vary between models.
Ensure the guide is firmly locked in place before sewing to prevent movement and maintain accuracy. Regular checks are recommended, especially during extended sewing sessions.
Calibrating Your Seam Guide
Calibrating your seam guide is crucial for accurate sewing. Begin by sewing a test seam on scrap fabric, using the desired seam allowance setting with the guide in place.
Measure the seam width carefully. If it deviates from the intended allowance, slightly adjust the guide’s position and repeat the test. This iterative process ensures precision.
Different fabrics may require minor adjustments, so testing is vital. Consistent calibration, especially after changing feet or experiencing machine maintenance, guarantees reliable results and professional-looking projects.
Using a Seam Guide for Accurate Sewing
Seam guides enhance precision, enabling straight lines and consistent seam allowances, vital for both novice and experienced sewers achieving professional results.
Sewing Straight Lines with a Seam Guide
Achieving perfectly straight lines is a cornerstone of quality sewing, and a seam guide is instrumental in this process. By aligning the fabric’s edge with the guide, you create a visual reference point, minimizing deviations as you stitch.
Maintain a consistent speed and gently guide the fabric; avoid pushing or pulling, letting the machine do the work. Regularly check your seam allowance against a ruler to ensure accuracy. Remember, even seasoned sewers benefit from this simple aid, especially when tackling lengthy seams or intricate projects.
A reliable seam guide contributes to a polished, professional finish, elevating your sewing projects to the next level.
Seam Guides for Curves and Corners
Navigating curves and corners accurately requires a slightly different approach when using a seam guide. Slow down your sewing speed and lift the presser foot frequently to pivot the fabric. The seam guide acts as a consistent reference point during these maneuvers, preventing bunching or uneven stitches.
For tight corners, stop with the needle down, lift the foot, rotate the fabric, and resume sewing. Maintaining a gentle grip on the fabric is crucial. A well-positioned seam guide ensures smooth transitions and a professional finish, even on complex shapes.
Practice makes perfect when mastering curves and corners!
Using Seam Guides with Different Fabrics
Fabric type significantly impacts how a seam guide performs. Lightweight or slippery fabrics like silk require slower sewing speeds and potentially a more secure seam guide attachment to prevent shifting. Heavier fabrics, such as denim, may necessitate a more robust guide and a slightly adjusted sewing technique.
Knits demand extra care; use a walking foot in conjunction with the seam guide to prevent stretching or puckering. Always test on a scrap piece of fabric first to ensure accurate seam allowance and avoid unwanted distortions. Consistent practice is key!
Troubleshooting Seam Guide Issues
Common problems include slipping guides or inaccurate seams. Regularly check guide placement and machine calibration for optimal performance and consistent stitching results.
Seam Guide Slipping or Moving
A frequently encountered issue is a seam guide that persistently slips or moves during sewing, compromising accuracy. This often stems from improper attachment, particularly with magnetic or clip-on varieties. Ensure magnetic guides are placed on a clean, metallic throat plate, free from debris or oil.
Clip-on guides require a secure fit; verify the clip is firmly attached and compatible with your machine’s throat plate. If slippage continues, consider tightening the screw (if applicable) or trying a different guide; Sometimes, vibrations from faster sewing speeds can contribute to movement, so reducing speed may help.
Regularly inspect the guide for wear and tear, as damaged guides are prone to instability.
Inaccurate Seam Allowance Despite Guide
Even with a properly installed seam guide, achieving accurate seam allowances can be challenging. A primary cause is an uncalibrated sewing machine. Ensure your machine’s presser foot is correctly aligned with the needle; misalignment throws off measurements.
Test sew on scrap fabric, comparing the stitch line to a ruler to verify accuracy. Adjust the needle position if necessary. Furthermore, fabric thickness impacts seam allowance; thicker fabrics may require slight adjustments to the guide’s position.
Consistent fabric handling is crucial – avoid stretching or pulling the material while sewing. Finally, double-check your seam guide itself for any damage or warping.
Damage to the Sewing Machine Throat Plate
Aggressive installation or removal of seam guides, particularly magnetic or clip-on types, can unfortunately damage the sewing machine’s throat plate. Scratches or nicks on the plate’s surface can impede smooth fabric movement, leading to skipped stitches or uneven seams.
Avoid excessive force when attaching or detaching guides. Regularly inspect the throat plate for any signs of wear or damage. If scratches are present, consider using a throat plate cover or seeking professional repair.
Protecting the throat plate ensures the longevity of your machine and maintains sewing precision.

Seam Guide Alternatives
When a dedicated seam guide isn’t available, resourceful sewers can utilize masking tape, DIY solutions, or an edge stitching foot for accurate guidance.
Using Masking Tape as a Seam Guide
For a quick and inexpensive alternative, masking tape can effectively function as a seam guide on your sewing machine. Begin by measuring and marking the desired seam allowance on the throat plate of your machine using a ruler.
Carefully apply strips of masking tape along these markings, ensuring they are firmly adhered and straight. This creates a visual and tactile guide for your fabric edge.
Remember to use low-tack tape to avoid leaving residue. This method is particularly useful when a dedicated seam guide isn’t readily available, offering a simple solution for maintaining consistent seam allowances during sewing projects.
DIY Seam Guides
Creating your own seam guide is a resourceful way to enhance sewing accuracy without significant expense. One method involves using cardboard or sturdy plastic strips cut to the desired seam allowance width.
Securely attach these strips to the throat plate of your sewing machine using double-sided tape or a non-permanent adhesive. Ensure the guide is firmly in place and aligned parallel to the needle.
Alternatively, felt can be cut into strips and glued down. This DIY approach allows for customization based on your specific needs and machine model, providing a personalized sewing experience.
Edge Stitching Foot as a Guide
An edge stitching foot serves as an excellent alternative seam guide, particularly useful for creating precise edges and topstitching. This presser foot features a guide positioned close to the needle, allowing you to sew a consistent distance from the fabric edge.
It’s especially beneficial when working with thicker materials or when a standard seam guide isn’t sufficient. The foot’s design ensures a clean, professional finish, eliminating the need for separate guides.
Consumer Reports emphasizes the importance of having the right tools, and an edge stitching foot is a valuable addition to any sewer’s collection.
Advanced Seam Guide Techniques
Mastering seam guides unlocks precision for complex projects like quilting and garment construction, enhancing accuracy and efficiency in your sewing process.
Using Multiple Seam Guides
Employing multiple seam guides simultaneously elevates sewing precision, particularly beneficial for tasks demanding parallel stitching or specific spacing. This technique is incredibly useful when creating piping, applying multiple rows of decorative stitching, or establishing evenly spaced tucks and pleats.
By strategically positioning several guides, sewers can maintain consistent distances between stitch lines, resulting in a more polished and professional finish. This method minimizes the need for frequent measuring and adjustments, streamlining the sewing process and reducing potential errors. It’s a fantastic way to improve the quality and appearance of your projects.
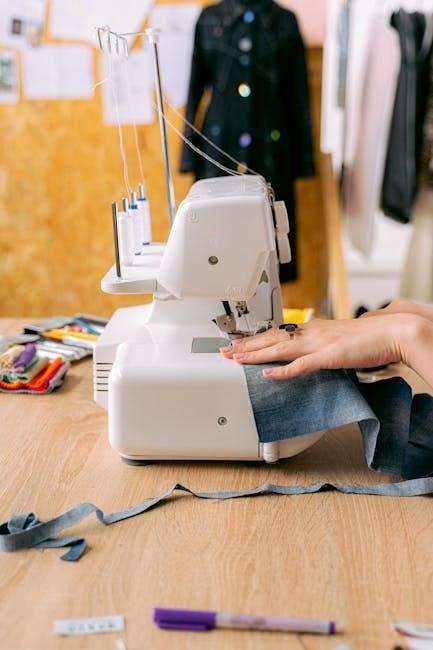
Seam Guides for Quilting
Quilting demands precision, and seam guides become indispensable for achieving accurate ¼-inch seams – a cornerstone of successful quilt construction. Consistent seam allowances ensure quilt blocks align perfectly, preventing unwanted bulk and creating a flat, even quilt top.
Utilizing a reliable seam guide minimizes stretching or distortion of fabric during sewing, crucial when working with multiple layers. Whether using magnetic, clip-on, or built-in guides, maintaining accuracy is paramount. A well-guided stitch contributes significantly to the overall aesthetic and durability of the finished quilt, elevating the craftsmanship.
Seam Guides for Garment Construction
Garment sewing requires precise seam allowances for proper fit and professional finishing. Seam guides are invaluable for maintaining consistent distances, crucial for elements like darts, set-in sleeves, and side seams. Accurate stitching ensures symmetrical garments and avoids frustrating fitting issues later on.
Whether constructing a simple skirt or a tailored jacket, a seam guide helps achieve clean, even seams. Consumer Reports emphasizes the importance of a good machine, and a seam guide maximizes its potential. Consistent seam allowances contribute to a polished, ready-to-wear appearance.
Choosing the Right Seam Guide
Selecting a seam guide depends on your sewing machine, project needs, and budget; consider durability and ease of use for optimal sewing accuracy.
Consider Your Sewing Machine Model
Understanding your sewing machine’s compatibility is paramount when choosing a seam guide. Different models feature varying throat plate designs and accessory options. Some machines boast built-in seam guides, offering a convenient and integrated solution, while others require magnetic or clip-on versions.
Referencing your sewing machine manual is crucial; it details compatible accessories and provides specific instructions for installation and adjustment. Consumer Reports emphasizes selecting a machine suited to your skill level, and a compatible seam guide enhances that machine’s capabilities. Ensure the guide doesn’t obstruct presser foot movement or interfere with fabric feeding.
Material and Durability of Seam Guides
The material of a seam guide significantly impacts its longevity and performance. Magnetic guides often utilize strong magnets encased in durable plastic or metal, resisting wear and tear. Clip-on guides are commonly made from acrylic or metal, with varying degrees of robustness.
Investing in a high-quality seam guide ensures accurate sewing for years. Consider the frequency of use; heavier-duty materials are ideal for frequent projects. Consumer Reports stresses the importance of a reliable machine, and a durable seam guide complements that reliability. Avoid flimsy plastics prone to cracking or warping, opting for materials that withstand consistent pressure and movement.
Budget Considerations for Seam Guides
Seam guide prices vary widely, ranging from inexpensive DIY options to premium, adjustable models. Basic magnetic or clip-on guides can be found for under $10, offering a cost-effective starting point.
However, investing slightly more in a higher-quality guide—between $15 and $30—often yields greater accuracy and durability. Consumer Reports emphasizes aligning your machine choice with your budget. Consider your sewing frequency and project complexity when determining your spending limit. While expensive doesn’t always equate to better, a well-made seam guide is a worthwhile investment for consistent results.
Maintaining Your Seam Guide
Regular cleaning with a soft cloth removes debris, ensuring smooth gliding. Proper storage protects against damage, extending the lifespan of your valuable sewing aid.
Cleaning Your Seam Guide
Consistent cleaning is vital for optimal seam guide performance. Over time, lint, fabric fibers, and even thread fragments can accumulate on the guide’s surface, hindering its smooth movement along the throat plate.
To clean, power off your sewing machine and disconnect it from the power source. Use a soft, dry cloth to gently wipe away loose debris. For stubborn residue, slightly dampen the cloth with water – avoid harsh chemicals or abrasive cleaners, as these can damage the guide’s finish.
Pay particular attention to the edges and underside of the guide. A small brush, like a toothbrush, can be helpful for reaching tight spaces. Ensure the guide is completely dry before reattaching it to your machine.
Storing Your Seam Guide
Proper storage extends the lifespan of your seam guide and ensures it remains ready for accurate sewing. When not in use, avoid leaving the guide attached to the machine, especially during extended periods.
Magnetic seam guides can be stored together, preventing scratches, but keep them away from magnetic fields that could alter their positioning. Clip-on guides should be stored in a small container or pouch to prevent loss of parts.
Protect all types of guides from dust and extreme temperatures. A dedicated sewing accessory box is ideal, keeping them organized and easily accessible for your next project.
Resources for Further Learning
Explore online tutorials and videos to enhance your seam guide skills, alongside consulting your sewing machine manual for specific guidance.
Online Tutorials and Videos
Numerous online platforms offer valuable resources for mastering seam guide techniques. YouTube channels dedicated to sewing often feature detailed demonstrations of various seam guide types and their applications. These visual aids are particularly helpful for beginners, illustrating proper installation, adjustment, and usage.
Websites specializing in sewing instruction provide step-by-step guides and articles covering everything from basic seam guide functionality to advanced quilting applications. Searching for “seam guide tutorial” will yield a wealth of information. Remember to consider your specific sewing machine model when following online instructions, as features can vary.
Don’t hesitate to explore forums and online communities where experienced sewers share tips and troubleshoot common issues related to seam guides.
Sewing Machine Manuals
Your sewing machine’s manual is an invaluable resource for understanding its specific seam guide features. It will detail the types of seam guides compatible with your model, proper installation procedures, and any unique adjustment mechanisms.
Refer to the manual for calibration instructions to ensure accurate seam allowances. Many machines have built-in seam guides that require initial calibration for optimal performance. Ignoring this step can lead to inconsistent stitching.
The manual may also address troubleshooting tips related to seam guide issues, such as slipping or inaccurate measurements. Consumer Reports emphasizes the importance of understanding your machine, and the manual is the primary source for this knowledge.