Oster Toaster Oven User Manual: A Comprehensive Guide
This manual details seven Oster models, offering guidance on parts, setup, operation, and troubleshooting. It’s a resource for maximizing your countertop oven’s potential!
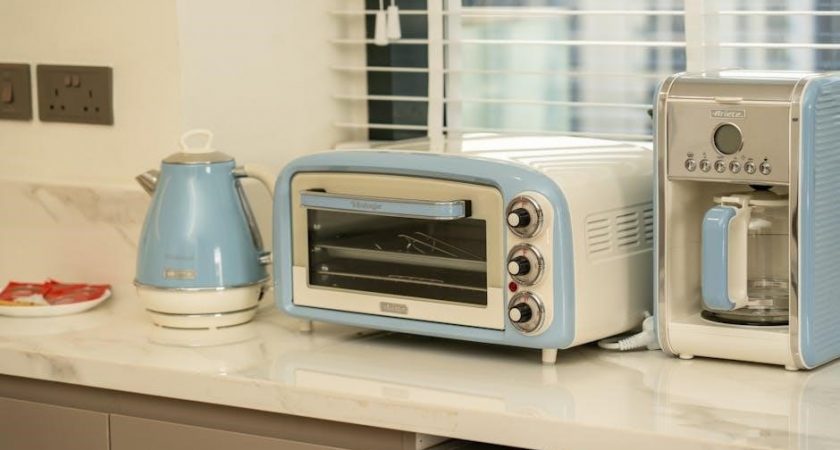
Welcome to the world of convenient and versatile cooking with your new Oster toaster oven! This appliance is designed to simplify meal preparation, offering a compact and efficient alternative to a full-sized oven. Whether you’re toasting bread, baking a small casserole, or broiling a quick snack, this oven delivers consistent results.
Oster has a long-standing reputation for quality kitchen appliances, and this toaster oven is no exception. This manual provides comprehensive instructions to ensure safe and optimal performance. Familiarize yourself with the features and functions detailed within to unlock the full potential of your new kitchen companion. Enjoy!
Understanding Model Numbers and Serial Numbers
Your Oster toaster oven’s model and serial numbers are crucial for identification and support. The model number specifies the features and capabilities of your particular oven, while the serial number is a unique identifier for your specific unit. Locate these numbers on the product’s data plate – typically found on the back or bottom of the appliance.
Keep these numbers readily available when contacting customer service or ordering replacement parts. Quoting them ensures you receive accurate assistance tailored to your oven. The serial number is also vital for warranty verification and accessing online resources.
Key Components and Parts Identification
Familiarizing yourself with your Oster toaster oven’s components is essential for safe and effective use. This oven comprises several key parts, including the exterior housing, heating elements (top and bottom), a removable crumb tray, and interior racks for baking and broiling. Controls typically include function selectors, temperature dials, and a timer.
Understanding the location and purpose of each part will aid in operation, cleaning, and troubleshooting. Refer to diagrams within this manual for a detailed overview of each component and its function within the appliance.
Exterior Parts Overview
The exterior of your Oster toaster oven features a durable housing protecting internal components. Key external elements include the control panel – housing function selectors, temperature controls, and the timer – and the oven door with a handle for easy access. A removable crumb tray is located at the bottom, simplifying cleanup.
The appliance’s base contains ventilation openings; ensure these remain unobstructed during operation. Locate the model and serial number plate, crucial for warranty claims and customer support inquiries.
Interior Parts Overview
Inside your Oster toaster oven, you’ll find the baking rack, supporting various cooking tasks. The heating elements – typically top and bottom – provide consistent heat distribution. Some models include a convection fan for enhanced cooking performance. The oven cavity itself is coated for easy cleaning, though avoid abrasive cleaners.
Inspect the interior for any packaging remnants before first use. Understanding these components is vital for safe and effective operation, ensuring optimal results with every meal.
Initial Setup and Preparation
Before your first use, carefully unpack your Oster toaster oven and inspect it for any shipping damage. Remove all packaging materials, including any protective films or stickers. Position the oven on a stable, heat-resistant surface with adequate ventilation. Ensure the power cord isn’t near heat sources or water.
A “burn-off” process is crucial; this eliminates manufacturing odors and protective coatings – detailed in the following section. Proper setup ensures safe and optimal performance.
Unpacking and Inspection
Carefully remove your new Oster toaster oven from its packaging, retaining the box and packing materials for potential future transport or warranty claims. Inspect the unit thoroughly for any visible damage incurred during shipping – dents, scratches, or broken parts.
Verify all components are present: the oven itself, the baking pan, the broiling rack, and this user manual. If any damage or missing parts are discovered, do not operate the oven; contact Oster customer service immediately.
First-Time Use: Burning Off Protective Coatings
Before your initial baking or toasting, it’s crucial to burn off the manufacturer’s protective coatings. These coatings are applied to prevent corrosion during shipping and storage, but can produce an odor and potentially affect food flavor if not removed.
Set the oven to the highest temperature and run it for approximately 15-30 minutes. This process may generate a slight smell – ensure adequate ventilation by opening windows. Afterwards, allow the oven to cool completely before first use.
Operating Instructions: Basic Functions
Your Oster toaster oven excels at core cooking tasks: toasting, baking, and broiling. For toasting, select your desired darkness setting and insert bread. Baking requires setting the temperature and timer for recipes, utilizing the bake function. Broiling cooks food directly under high heat; position racks appropriately and monitor closely to prevent burning;
Always preheat the oven for optimal baking and broiling results. Refer to recipe guidelines for specific temperature and time recommendations. Experiment to find your preferred settings!
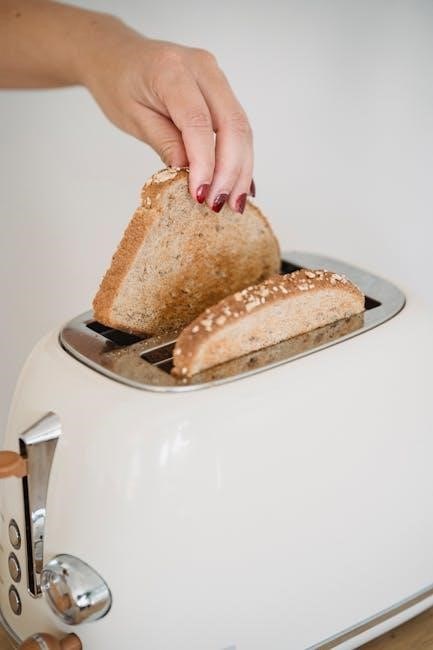
Toasting Bread
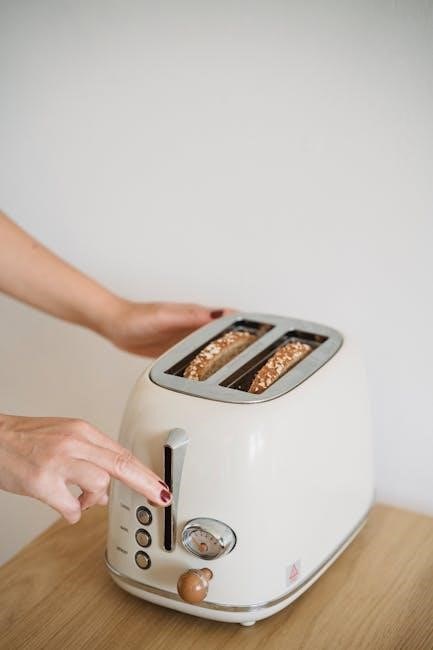
Achieving perfectly toasted bread is simple with your Oster toaster oven. Begin by placing bread slices directly on the rack. Select your preferred toast shade using the darkness control knob – options typically range from light to dark. Insert the rack, and activate the ‘Toast’ function.
Monitor the toasting process; adjust settings as needed for desired results. For even toasting, ensure bread slices are of uniform thickness. Enjoy warm, golden-brown toast!
Baking Foods
Your Oster toaster oven excels at baking a variety of foods. Preheat the oven to the recipe’s specified temperature using the temperature control dial. Place food on a baking pan suitable for toaster ovens – avoid oversized pans. Select the ‘Bake’ function and set the timer accordingly.
Regularly check for doneness, rotating the pan for even baking. Smaller portions bake faster; adjust time as needed. Enjoy delicious baked goods with ease!
Broiling Foods
Broiling utilizes high, direct heat for quick cooking, ideal for thinner cuts of meat, fish, or vegetables. Position the oven rack closest to the broiler element. Preheat the oven on ‘Broil’ for several minutes. Place food on a broiling pan, ensuring adequate space around it.
Monitor closely, as broiling happens rapidly! Flip food halfway through for even cooking. Always use oven mitts when handling hot pans and food.
Advanced Features and Settings
Your Oster toaster oven boasts features beyond basic toasting and baking, enhancing cooking versatility. Convection technology ensures even heat distribution for faster, more consistent results. Precise temperature control allows for customized cooking, adapting to diverse recipes.
The timer function provides convenience and prevents overcooking. Explore these settings to unlock the full potential of your appliance, achieving professional-quality meals with ease and precision.
Convection Cooking Explained
Convection cooking utilizes a fan to circulate hot air throughout the oven cavity. This constant air movement ensures food cooks evenly and efficiently, reducing cooking times compared to traditional baking. It’s ideal for roasting meats, baking cookies, and achieving crispy textures.
For optimal results, reduce the recipe temperature by 25°F when using the convection setting. This prevents over-browning and ensures perfectly cooked dishes every time, maximizing your oven’s capabilities.

Temperature Control and Settings
Your Oster toaster oven features precise temperature control, typically ranging from 200°F to 450°F (93°C to 232°C). Use the temperature dial or electronic controls to select the desired cooking temperature for your recipe. Ensure the setting aligns with the recipe’s instructions for best results.
Preheating is crucial for accurate cooking; allow the oven to reach the set temperature before adding food. Consistent temperature monitoring guarantees evenly cooked and delicious meals.
Timer Functionality
The timer on your Oster toaster oven allows for convenient, automated cooking. Set the timer using the dedicated dial or digital controls, specifying the desired cooking duration. Many models feature an auto-shutoff function, turning the oven off when the timer reaches zero, preventing overcooking.
Utilize the timer for precise cooking times, ensuring your food is perfectly prepared. Regularly check the timer’s accuracy and adjust as needed for optimal performance and consistent results.
Cleaning and Maintenance
Regular cleaning extends the life of your Oster toaster oven and ensures optimal performance. Always unplug the oven and allow it to cool completely before cleaning. Remove the crumb tray and any racks or pans, washing them with warm, soapy water. Wipe the interior with a damp cloth, avoiding abrasive cleaners.
For stubborn spills, a paste of baking soda and water can be effective. Consistent maintenance prevents grease buildup and ensures safe, efficient operation.
Regular Cleaning Procedures
Maintain your Oster toaster oven’s performance with consistent cleaning. After each use, allow the oven to cool, then remove the crumb tray and wipe it clean. Periodically, wash removable racks and pans with warm, soapy water. The interior should be wiped down with a damp cloth – avoid harsh abrasives.
A quick wipe-down after each use prevents buildup, while a more thorough cleaning weekly ensures longevity and food safety. Remember to always unplug the appliance first!
Dealing with Stubborn Spills and Grease
For baked-on spills and grease, a paste of baking soda and water can be effective. Apply it to the affected area, let it sit for a short period, then gently scrub with a non-abrasive sponge. Avoid harsh chemicals that could damage the oven’s interior.
Persistent grease may require repeated applications. Ensure all cleaning residue is removed before using the oven again. Always unplug the appliance before attempting any deep cleaning procedures for safety.
Safety Precautions and Warnings
Always exercise caution when operating your Oster toaster oven. Never touch the hot surfaces, including the heating elements and interior walls, during or immediately after use to prevent burns. Ensure proper ventilation and avoid placing flammable materials nearby.
Unplug the oven when not in use and before cleaning. Do not immerse the appliance in water. Inspect the power cord regularly for damage, and discontinue use if any issues are found. Keep the oven away from children.

Electrical Safety Guidelines
To ensure safe operation, always plug your Oster toaster oven into a grounded outlet. Never use an extension cord unless absolutely necessary, and if so, ensure it’s rated for the appliance’s wattage. Avoid operating the oven with a damaged cord or plug – discontinue use immediately.
Do not attempt to repair the appliance yourself; contact qualified service personnel for assistance. Keep the electrical connections dry and avoid using the oven in damp environments. Disconnect before cleaning!
Preventing Burns and Injuries
Exercise extreme caution when operating your Oster toaster oven, as surfaces become very hot during use. Always use oven mitts or pot holders when handling hot trays, racks, or food. Avoid touching the heating elements directly, even when the oven is off.
Never leave the oven unattended while in operation. Keep children and pets away from the hot appliance. Allow the oven to cool completely before cleaning or storing. Do not touch the head or cylinders!
Troubleshooting Common Issues
If your Oster toaster oven isn’t heating, first ensure it’s properly plugged in and the outlet is functioning. Check the temperature setting and timer; they must be correctly set for operation. For uneven cooking, rotate the food halfway through the cooking cycle.
If problems persist, contact Oster customer service, quoting the appliance type, model number, year, and serial number for assistance. Don’t attempt repairs yourself!
Oven Not Heating
If your Oster toaster oven fails to heat, begin by verifying the power cord is securely plugged into a working electrical outlet. Confirm the outlet is receiving power by testing it with another appliance. Next, double-check that the temperature control knob is set to the desired temperature, and the timer is activated.
If these steps don’t resolve the issue, do not attempt self-repair; contact Oster customer service with your model and serial number.
Uneven Cooking Problems
Experiencing uneven cooking with your Oster toaster oven? Ensure food isn’t overcrowded, allowing for proper heat circulation. Rotate the baking pan halfway through the cooking process for more consistent results. Verify the oven is preheated to the correct temperature before placing food inside.
Also, confirm the rack is positioned correctly; If issues persist, contact Oster customer support, providing your appliance’s model and serial number for assistance.
Understanding Error Codes (If Applicable)

Some Oster toaster oven models may display error codes to indicate specific issues. Unfortunately, detailed error code lists aren’t universally available for all models. If an error code appears, first try resetting the oven by unplugging it for several minutes, then plugging it back in.
If the code reappears, record it and contact Oster customer service, providing your model and serial number. They can decipher the code and offer targeted troubleshooting steps.
Warranty Information and Customer Support
Oster provides a limited warranty on its toaster ovens, covering defects in materials and workmanship. The warranty period varies by model, so retain your proof of purchase. To register your product and access warranty details, visit the Oster website.
For customer support, have your model and serial number ready. Contact Oster via phone or online chat for assistance with questions, troubleshooting, or warranty claims. Promptly quoting these details expedites the process!
Registering Your Product
Registering your Oster toaster oven unlocks access to exclusive benefits, including extended warranty options and timely product updates. It also streamlines future customer support interactions, ensuring quicker assistance when needed.
Visit the official Oster website and locate the product registration section. You’ll require your model number and serial number, typically found on the appliance’s data plate. Completing this simple process confirms your ownership and enhances your overall product experience!
Contacting Oster Customer Service
For any questions or concerns regarding your Oster toaster oven, their dedicated customer service team is readily available to assist you. Be prepared to provide your appliance type, model number, year of manufacture, and serial number for efficient support.
You can reach them through their official website, often featuring a live chat option, or by phone. Promptly quoting these details will expedite the resolution process, ensuring a smooth and satisfactory experience. Don’t hesitate to reach out!
Accessing Online Resources and Manuals
Oster provides a wealth of support materials accessible through their official website and various online platforms. The Lorch Information and Service Assistant (LISA) is a valuable tool, granting access to all manuals with a convenient serial number search function.
These digital resources offer troubleshooting tips, frequently asked questions, and downloadable user manuals, ensuring you have the information needed at your fingertips. Explore these options for quick solutions and enhanced product understanding.
Spare Parts and Replacements
Should components of your Oster toaster oven require replacement, several avenues exist for sourcing genuine parts. SBT spare parts store offers blender drive couplings, demonstrating availability of specific components at competitive prices, with promotional offers and fast delivery.
Contacting Oster customer service directly is also recommended; providing the model and serial number ensures accurate part identification. Regularly checking authorized retailer websites can reveal available replacements, extending the lifespan of your appliance.
Recipes for Your Oster Toaster Oven
While this manual focuses on operation, unlocking your Oster toaster oven’s full potential involves culinary exploration! Numerous online resources provide recipes specifically tailored for toaster ovens, maximizing convection baking and broiling capabilities.
Experiment with simple toast variations, baked appetizers, or even small-batch desserts. Consider recipes designed for countertop ovens to ensure optimal results given the oven’s size and heating elements. Explore online communities for shared ideas and inspiration, expanding your cooking repertoire!
Tips for Optimal Performance
To ensure longevity and consistent results, regularly clean your Oster toaster oven after each use, removing crumbs and grease. Proper maintenance prevents uneven cooking and potential fire hazards.
Utilize the convection setting for faster, more even baking and roasting. Preheating is crucial for accurate temperature control. Avoid overcrowding the interior to allow for proper air circulation. Always refer to recipe guidelines for suggested cooking times and temperatures, adapting as needed for your specific model.
Frequently Asked Questions (FAQ)
Users often inquire about locating the serial number, typically found on the appliance’s data plate. Common questions involve troubleshooting heating issues or uneven cooking; ensure proper preheating and avoid overcrowding.
If encountering error codes, consult the manual or Oster’s customer service. Many ask about cleaning – regular maintenance is key! Remember to quote the model, year, and serial number when contacting support for efficient assistance. Understanding these details streamlines the troubleshooting process.
Common User Queries
Frequently, users ask about the difference between baking and broiling settings, and how convection cooking impacts results. Others inquire about burning off protective coatings during the initial use, a crucial first-time step.
Questions also arise regarding optimal temperature settings for various foods and the correct timer functionality. Some users seek clarification on error codes, while others need assistance locating the product’s serial number for warranty claims or customer support inquiries.
Serial Number Location and Importance
The serial number, vital for warranty service and customer support, is prominently displayed on the appliance’s data plate. This plate is typically found on the rear or bottom of the Oster toaster oven unit.
Having this number readily available streamlines any inquiries or repair requests. It uniquely identifies your specific model and manufacturing date. When contacting Oster, always quote the appliance type, year, and serial number to ensure efficient assistance. Accurate identification prevents delays and ensures correct parts or guidance.